We have been steadly working our way through our to-do lists - albeit the list keeps growing as more jobs get added.
The play in the swivel under Mike's armchair had been increasing causing the chair to wobble and screech every time one sat on it.

Dismantling the swivel was a bit problematic as the manufacturers had stopped the swivel coming apart by simply welding a blob of metal on the end of the spindle - never thinking it may be necessary to take it apart.
Brute force worked in the end using the original bolts to force it apart


After filing away the blob of metal, the problem was removed - a worn plastic sleeve bushing.

The local chandlery, Rolnautic, rang a local mechanic and an hour later he met me at the shop. Despite language problems, he understood what was needed and 3 days later, as promised, he presented me with two neatly machined new bushings (one for eventual problems with Jeannette's chair) and had, as requested, drilled and tapped a hole in the bottom of the spindle for a removeable retaining bolt and washer.

The re-assembled swivel

installation complete - Mike can now swivel away smoothly and noiselessly

A job that had been on the list for some time was once again sorting out the problem of partially blocked toilet hoses. Not the most pleasant of jobs - one that keeps getting deferred. However, I was finally forced into doing something when I broke off the handle of the stuck 3-way valve (which directs the sewage to either the holding tank or directly overboard. After breaking off, the valve started leaking so I had to replace the valve.

After removing the valves, checked the hoses and found the hose from the toilet to the 3-way valve was indeed partly blocked - so replaced with new hose - sounds simple but then this is a boat - nothing is simple!
The hose goes through holes in the aluminium strengthening plates welded to the hull. The holes were drilled exactly the diameter of the hose - in principle no problem except that one of the sea cocks was just 10 cms in front of and directly in line with the hole making it virtually impossible to bend a stiff hose round it. Solution - an hour or so of filing in a very awkward position to make the hole bigger.

The new Vetus valve installed and, after replacing all the pump valves and O-rings, the toilet pumps as it should

For at least two years, the tank level transducers on both diesel tanks have not been working. As on long voyages one always wants to start with full tanks it has been a problem filling the tank but without overfilling. We keep a record of how many hours motored and, knowing the average fuel consumption per hour, we calculate how much we have used - however, this is never very exact.
So, removed the old VDO float-arm driven variable resistance transducers

detail of variable resistance mechanism

and replaced with much less vulnerable designed Vetus transducers. The black float just moves up and down the stainless steel tube as the level changes. No electric contacts are exposed to the diesel as in the old system.
Thought replacement would be simple as, unusually the flange bolt holes on the new tranducer were identical to the old. However, connected the new transducer to the existing meter only to find that the when the float was in the full position, the meter read zero and vici versa! Changed the connections round - same result - checked on the internet and found other yachties had encountered the same problem - so either mark the meter in reverse or - yes, went and bought a new Vetus meter. Luckily the wiring on new and old meters was identical so a two minute job to connect.
Before installing, carried out a simple check on the calibration

Empty


Half Full
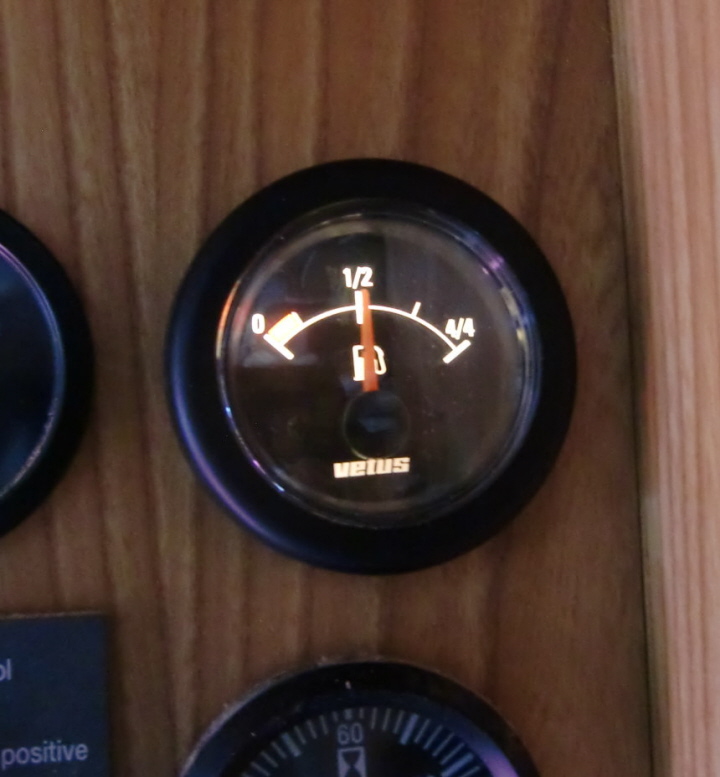

Full

Having satisfied myself that transducer and meter were behaving correctly, decided that could safely install the transducer. However, the existing hole in the tank, though nominally the correct size for the float, had burrs which meant the float would not pass through. So, inserted some duct tape sticky side up to catch the aluminium filings and filed away the burrs.

Transducer installed and sealed with sikaflex and liquid gasket sealant - hopefully tank filling will no longer be an issue.